How to Manage Workers
Complete guide to adding, managing, and organizing your workforce for payroll processing
What This Feature Does
The Workers feature allows you to maintain a comprehensive database of your workforce, including employees, contractors, and temporary workers. This centralized system ensures accurate payroll processing, proper rate assignment, and seamless integration with timesheets and other payroll functions.
Initial Setup
First-Time Configuration
- Navigate to "Pay Rates" in the left sidebar
- Click on the "Workers" tab
- You'll see the workers management interface
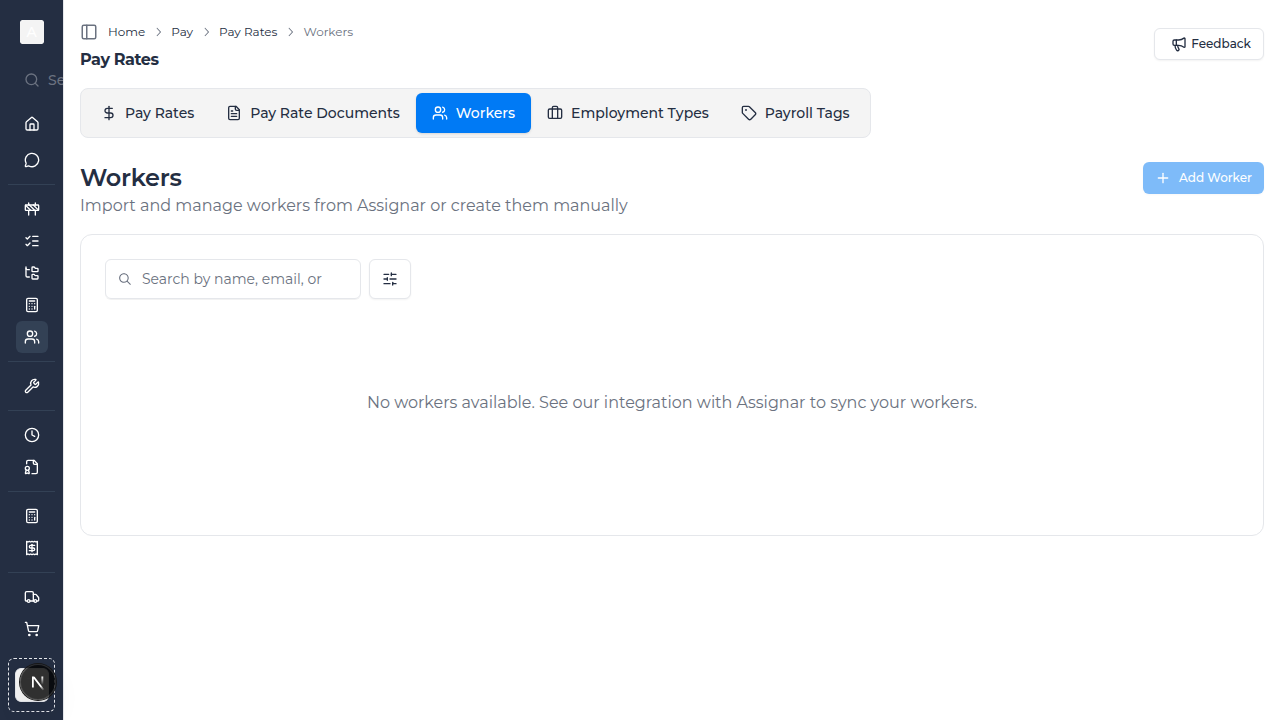
- Click "Add Worker" to manually create your first worker record
- Alternatively, import workers from Assignar if you have the integration enabled
Required Information
Before adding workers, gather:
- Full legal names (first name and last name)
- Email addresses for communication
- Employee or contractor ID numbers
- Employment type classifications
- Contact information (phone numbers, addresses)
- Emergency contact details
Day-to-Day Usage
How to Add Workers Manually
- Go to "Pay Rates" in the left sidebar
- Click on the "Workers" tab
- Click "Add Worker" button
- Fill in the worker details:
- First Name: Worker's given name
- Last Name: Worker's family name
- Email: Primary email address
- Employee ID: Unique identifier (optional but recommended)
- Employment Type: Select from your employment type list
- Phone Number: Contact number (optional)
- Start Date: When the worker joined (optional)
- Click "Save Worker" to create the record
How to Import Workers from Assignar
- If you have Assignar integration enabled, click "Import from Assignar" button
- Select the workers you want to import
- Review the list of workers to be imported
- Click "Import Selected Workers"
- The system will create worker records with all relevant information from Assignar
- Workers will sync automatically when changes are made in Assignar
How to Edit Worker Information
- Find the worker in the list (use search if needed)
- Click the edit icon (pencil) on the right side of the row
- Update any worker details as needed
- Change employment type if the worker's status has changed
- Click "Save Changes" to update the record
How to Search and Filter Workers
- Use the search box to find workers by:
- Name (first or last name)
- Email address
- Employee ID
- Apply filters to narrow down the list:
- Source: Filter by Assignar imports or manually added workers
- Status: View active, inactive, or deleted workers
- Clear filters to see the complete list again
Managing Worker Records
Deactivating Workers
- Locate the worker you want to deactivate
- Click the delete/archive icon
- Confirm the deactivation
- The worker record is preserved but marked as inactive
- Inactive workers don't appear in active worker lists but remain in historical data
Restoring Deactivated Workers
- Change the status filter to show "Deleted" or "Inactive" workers
- Find the worker you want to restore
- Click the restore icon
- Confirm the restoration
- The worker becomes active again and available for new timesheets
Bulk Operations
- Select multiple workers using the checkboxes
- Available bulk actions:
- Bulk Delete: Deactivate multiple workers at once
- Export: Download worker data to CSV
- Use bulk operations to efficiently manage large workforce changes
Assigning Workers to Pay Rates
Direct Rate Assignment
- Edit a worker record
- In the pay rate section, select applicable pay rates
- Assign default rates for different work types
- Set effective dates for rate changes
- Save the assignments
Rate Application via Timesheets
- When creating timesheets, select the worker
- The system suggests appropriate pay rates based on:
- Worker's employment type
- Assigned default rates
- Work type and conditions
- Override rates if necessary for specific circumstances
- Rates apply automatically when processing payroll
Integration with Assignar
Setting Up Worker Synchronization
- Navigate to "Settings" → "Integrations"
- Connect your Assignar account
- Configure worker sync settings:
- Choose which worker fields to sync
- Set sync frequency (real-time or scheduled)
- Map Assignar fields to Assignar Pay fields
- Enable automatic sync to keep worker data current
Understanding Sync Behavior
- New Workers: Automatically created when added in Assignar
- Updates: Changes in Assignar sync to Assignar Pay
- Deletions: Workers removed in Assignar are marked inactive
- Conflicts: Manual changes in Assignar Pay may be overwritten by Assignar sync
- Sync Status: Check last sync time and any sync errors
Manual vs. Assignar Workers
- Assignar Workers: Identified with an "Assignar" source tag
- Manual Workers: Created directly in Assignar Pay
- Mixed Mode: Both types can coexist in your system
- Best Practice: Use one primary source to avoid duplicate records
Worker Information Management
Essential Fields
- Name: Keep names consistent with official records
- Email: Used for communications and timesheet notifications
- Employee ID: Critical for payroll integration and reporting
- Employment Type: Determines applicable rates and entitlements
Optional Fields
- Phone Number: For direct contact
- Address: For tax and compliance purposes
- Emergency Contact: Important for workplace safety
- Notes: Record special conditions or reminders
Data Privacy Considerations
- Only collect information necessary for payroll and compliance
- Ensure workers are aware of how their data is used
- Maintain security of personal information
- Comply with relevant privacy laws and regulations
Using Worker Data
Timesheet Creation
- Select a worker when creating timesheets
- Worker's employment type determines available pay rates
- System validates worker is active and assigned to the project
- Timesheet automatically links to correct pay rates
Payroll Processing
- Generate pay runs grouped by employment type
- Export worker data to your payroll system
- Track pay rates applied to each worker
- Maintain audit trail of all payroll transactions
Reporting and Analysis
- Run reports showing:
- Active worker count by employment type
- Worker costs over time
- Hours worked per worker
- Pay rate assignments
- Export data for external analysis
- Monitor workforce trends and planning needs
Troubleshooting
If workers aren't showing up
- Check that you've added at least one worker
- Verify filter settings aren't hiding workers
- If using Assignar integration, check sync status
- Ensure workers haven't been accidentally deactivated
- Refresh the page to load latest data
If you can't add a worker
- Verify you have the necessary permissions
- Check that required fields are properly filled
- Ensure email addresses are valid and unique
- Try a different browser if issues persist
If Assignar import isn't working
- Verify Assignar integration is active and properly configured
- Check that you have appropriate permissions in Assignar
- Look for sync error messages in the integration settings
- Contact your account administrator for integration support
- Review Assignar's worker data to ensure it's properly formatted
If worker data isn't syncing
- Check the last sync timestamp in integration settings
- Verify automatic sync is enabled
- Look for sync errors or warnings
- Manually trigger a sync if needed
- Ensure network connectivity between systems
Best Practices
Data Quality
- Maintain consistent naming conventions
- Keep email addresses current
- Regularly review and clean up worker list
- Document any special conditions in worker notes
- Verify employment type assignments are accurate
Organization
- Use employee IDs consistently across all systems
- Group workers logically by employment type or department
- Tag workers with relevant attributes for easy filtering
- Keep contact information up to date
- Archive separated workers rather than deleting them
Security and Privacy
- Limit access to worker data based on role
- Review worker information permissions regularly
- Ensure data is backed up and recoverable
- Follow organizational privacy policies
- Train staff on proper handling of personal information
Integration Management
- If using Assignar, make that your primary source of truth
- Avoid editing Assignar-sourced workers manually
- Document any manual workers and why they're not in Assignar
- Regularly reconcile worker lists between systems
- Monitor sync logs for any issues
Tips for Construction Teams
- Create worker records for all field staff before first timesheet
- Assign workers to their primary trade or role
- Use employment types to distinguish employees from subcontractors
- Tag workers with certifications or special skills
- Link workers to projects they're authorized to work on
- Maintain records of safety training and inductions
- Track worker availability for project planning
Compliance Considerations
- Maintain accurate records for Fair Work compliance (Australia)
- Keep employee vs. contractor classification correct
- Document any rate variations or agreements
- Store worker data securely
- Maintain records for required retention periods
- Ensure data handling complies with privacy laws
What's Next
After setting up workers, you may want to:
- Assign workers to Employment Types
- Create Timesheets for your workers
- Set up Pay Rates that apply to your workers
- Generate Reports on workforce costs
- Configure Projects and assign workers to them