Assignar Pay Setup Guide
How to connect Assignar Pay to Assignar Operations
Assignar Pay Setup Guide
How to connect Assignar Pay to Assignar Operations
1. Overview
This guide will help you:
- Set up your Assignar Pay organization
- Connect Assignar Pay with Assignar Operations
- Enable and retrieve API credentials
- Import projects, clients, workers, and cost codes
- Configure company details, tax settings, and invoice numbering
- Verify your integration and synced data
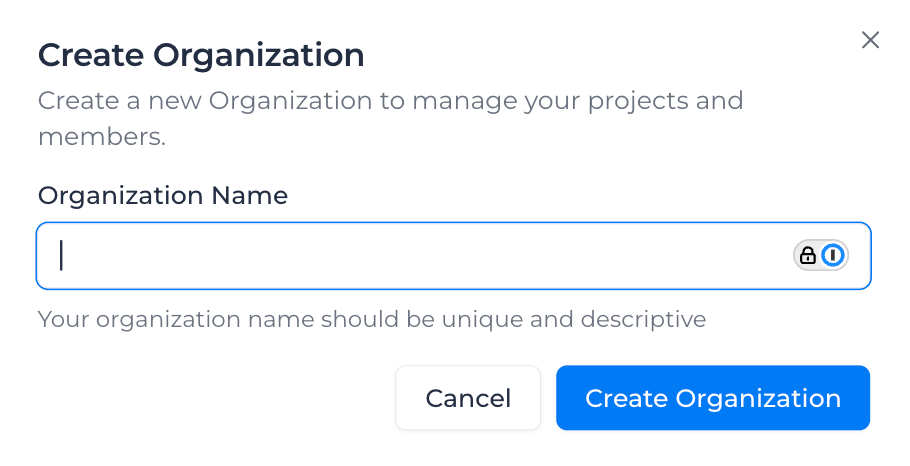
2. Step 1: Create Your Organization in Assignar Pay
- Log into Assignar Pay
- Go to Organization Setup
- Enter your legal business name (e.g. ABC Constructions Pty Ltd)
- Click Create Organization (See Screenshot)
3. Step 2: Connect Assignar Pay to Assignar Operations & Import Data
- In Assignar Pay, navigate to Integrations from the left menu
- Locate Assignar Operations and click Connect
- Select your region
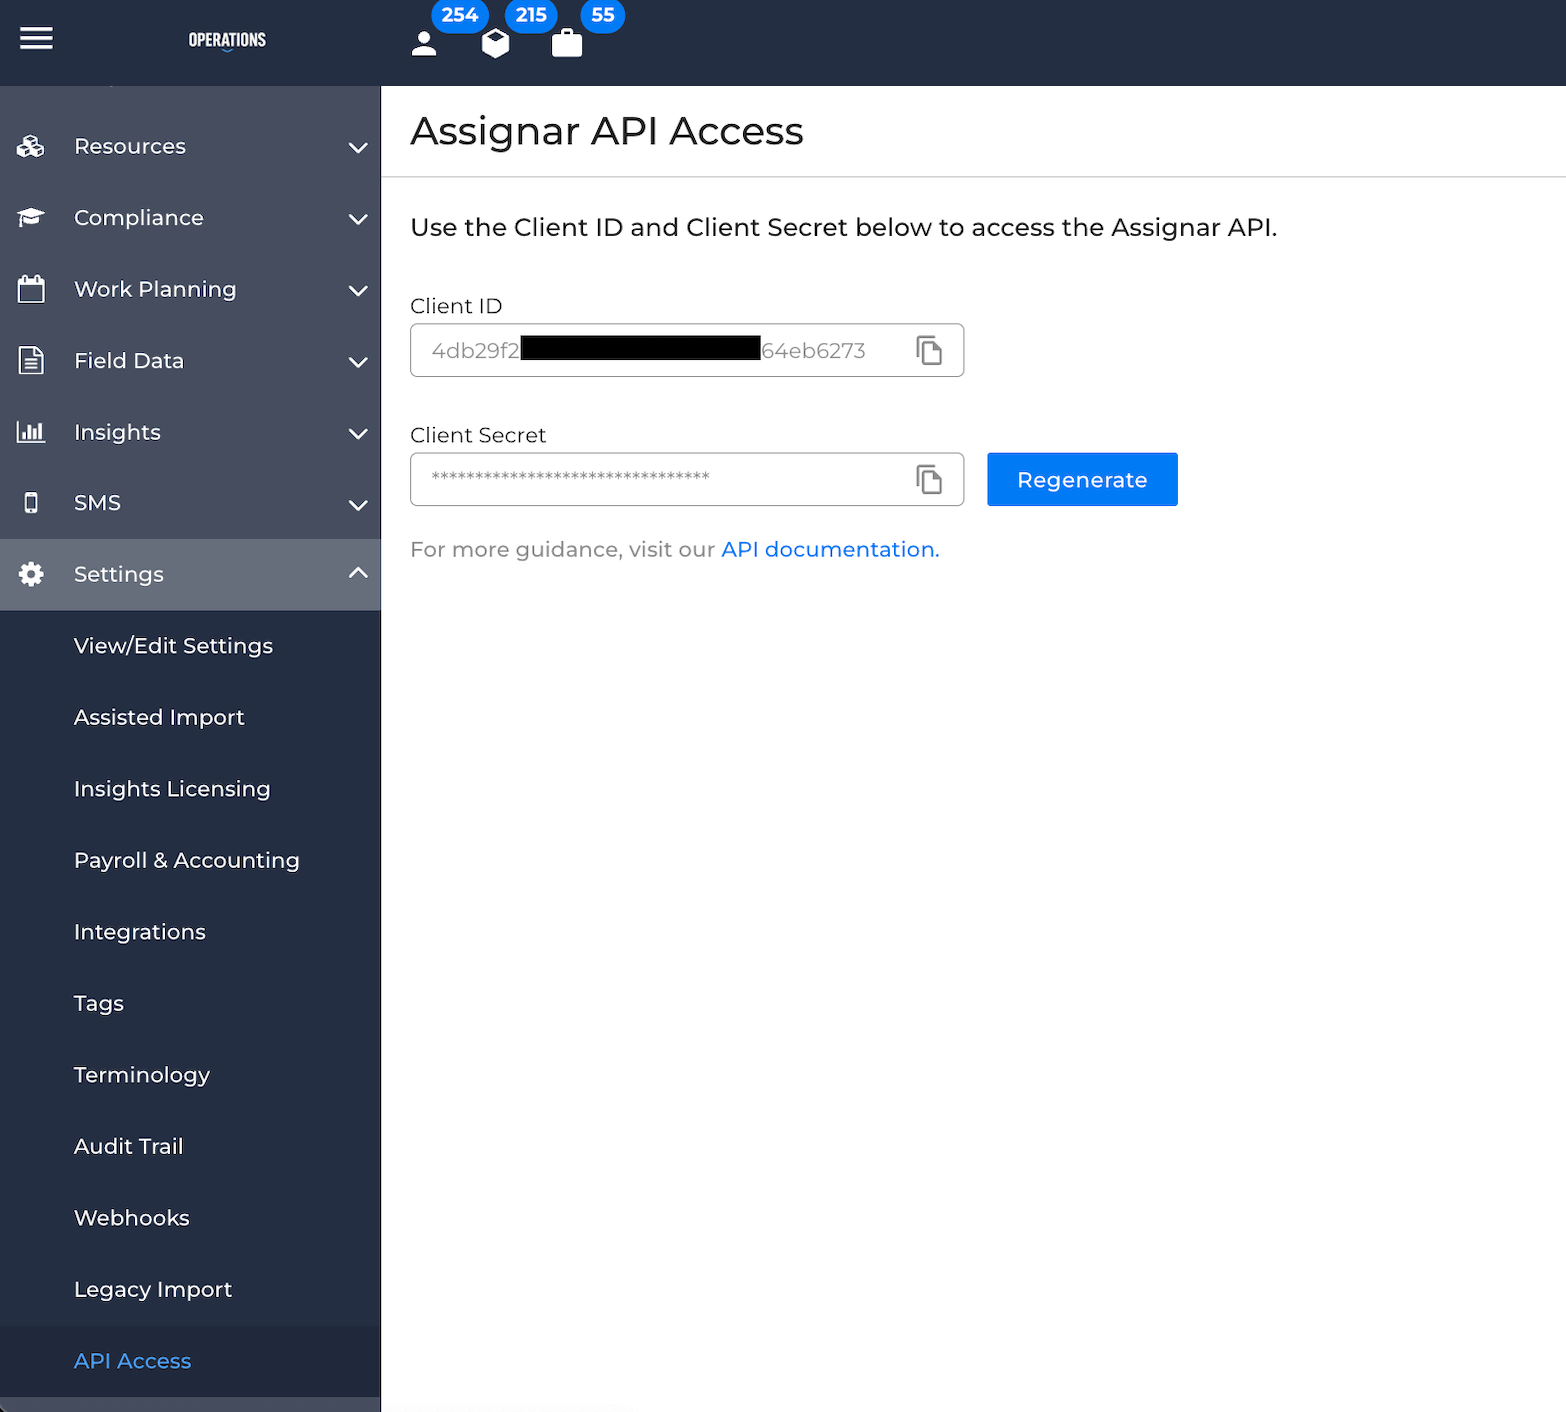
- Retrieve your Client ID and Client Secret from Assignar Operations:
- In Assignar Operations, go to Settings → API Access
- Enable API Access (contact your account manager or support if you don't see this option)
- Ensure you have the required user permissions (your Admin may need to grant access)
- Click Set Up to generate a unique Client ID and Client Secret
- Copy the Client ID and Client Secret and paste them into the fields in Assignar Pay
- Click Connect
- After connecting, you can choose to import the last 4 weeks of timesheets
- Assignar Pay will automatically start syncing:
- Clients
- Projects
- Cost codes (Activities)
- Roles (Tasks)
The sync runs in the background, so you can continue configuring settings while it completes.
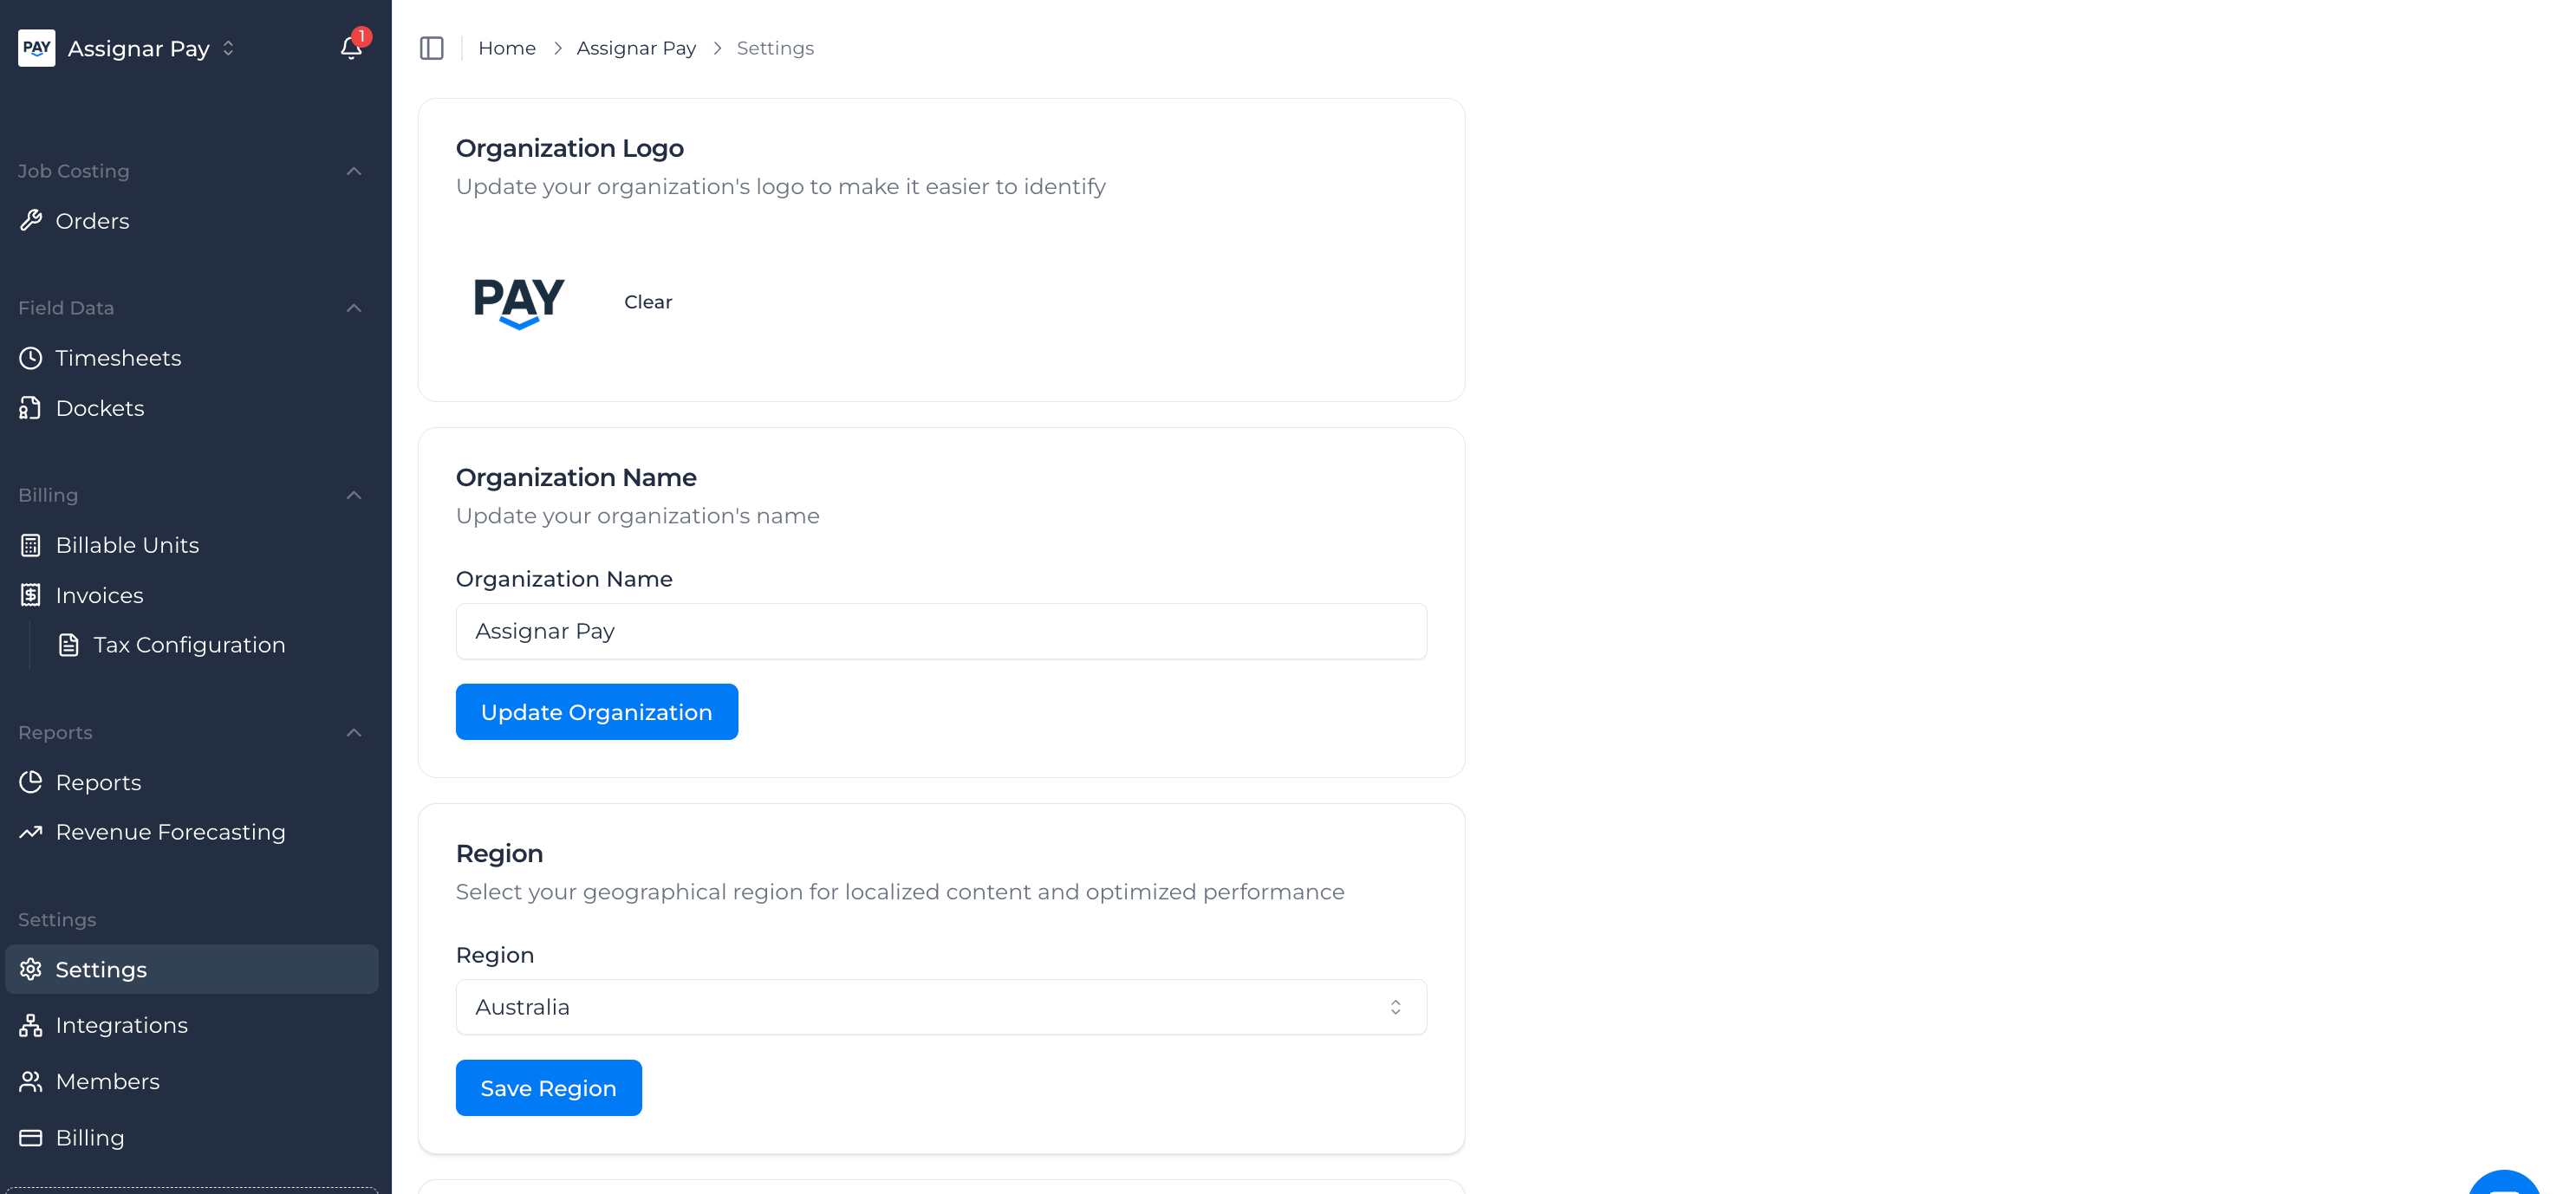
4. Step 3: Configure Company Details
While the integration syncs, set up your company details:
- Go to Settings → Company Details
- Enter:
- Region
- Company address
- Tax file number
- Business hours
- Invoice display settings
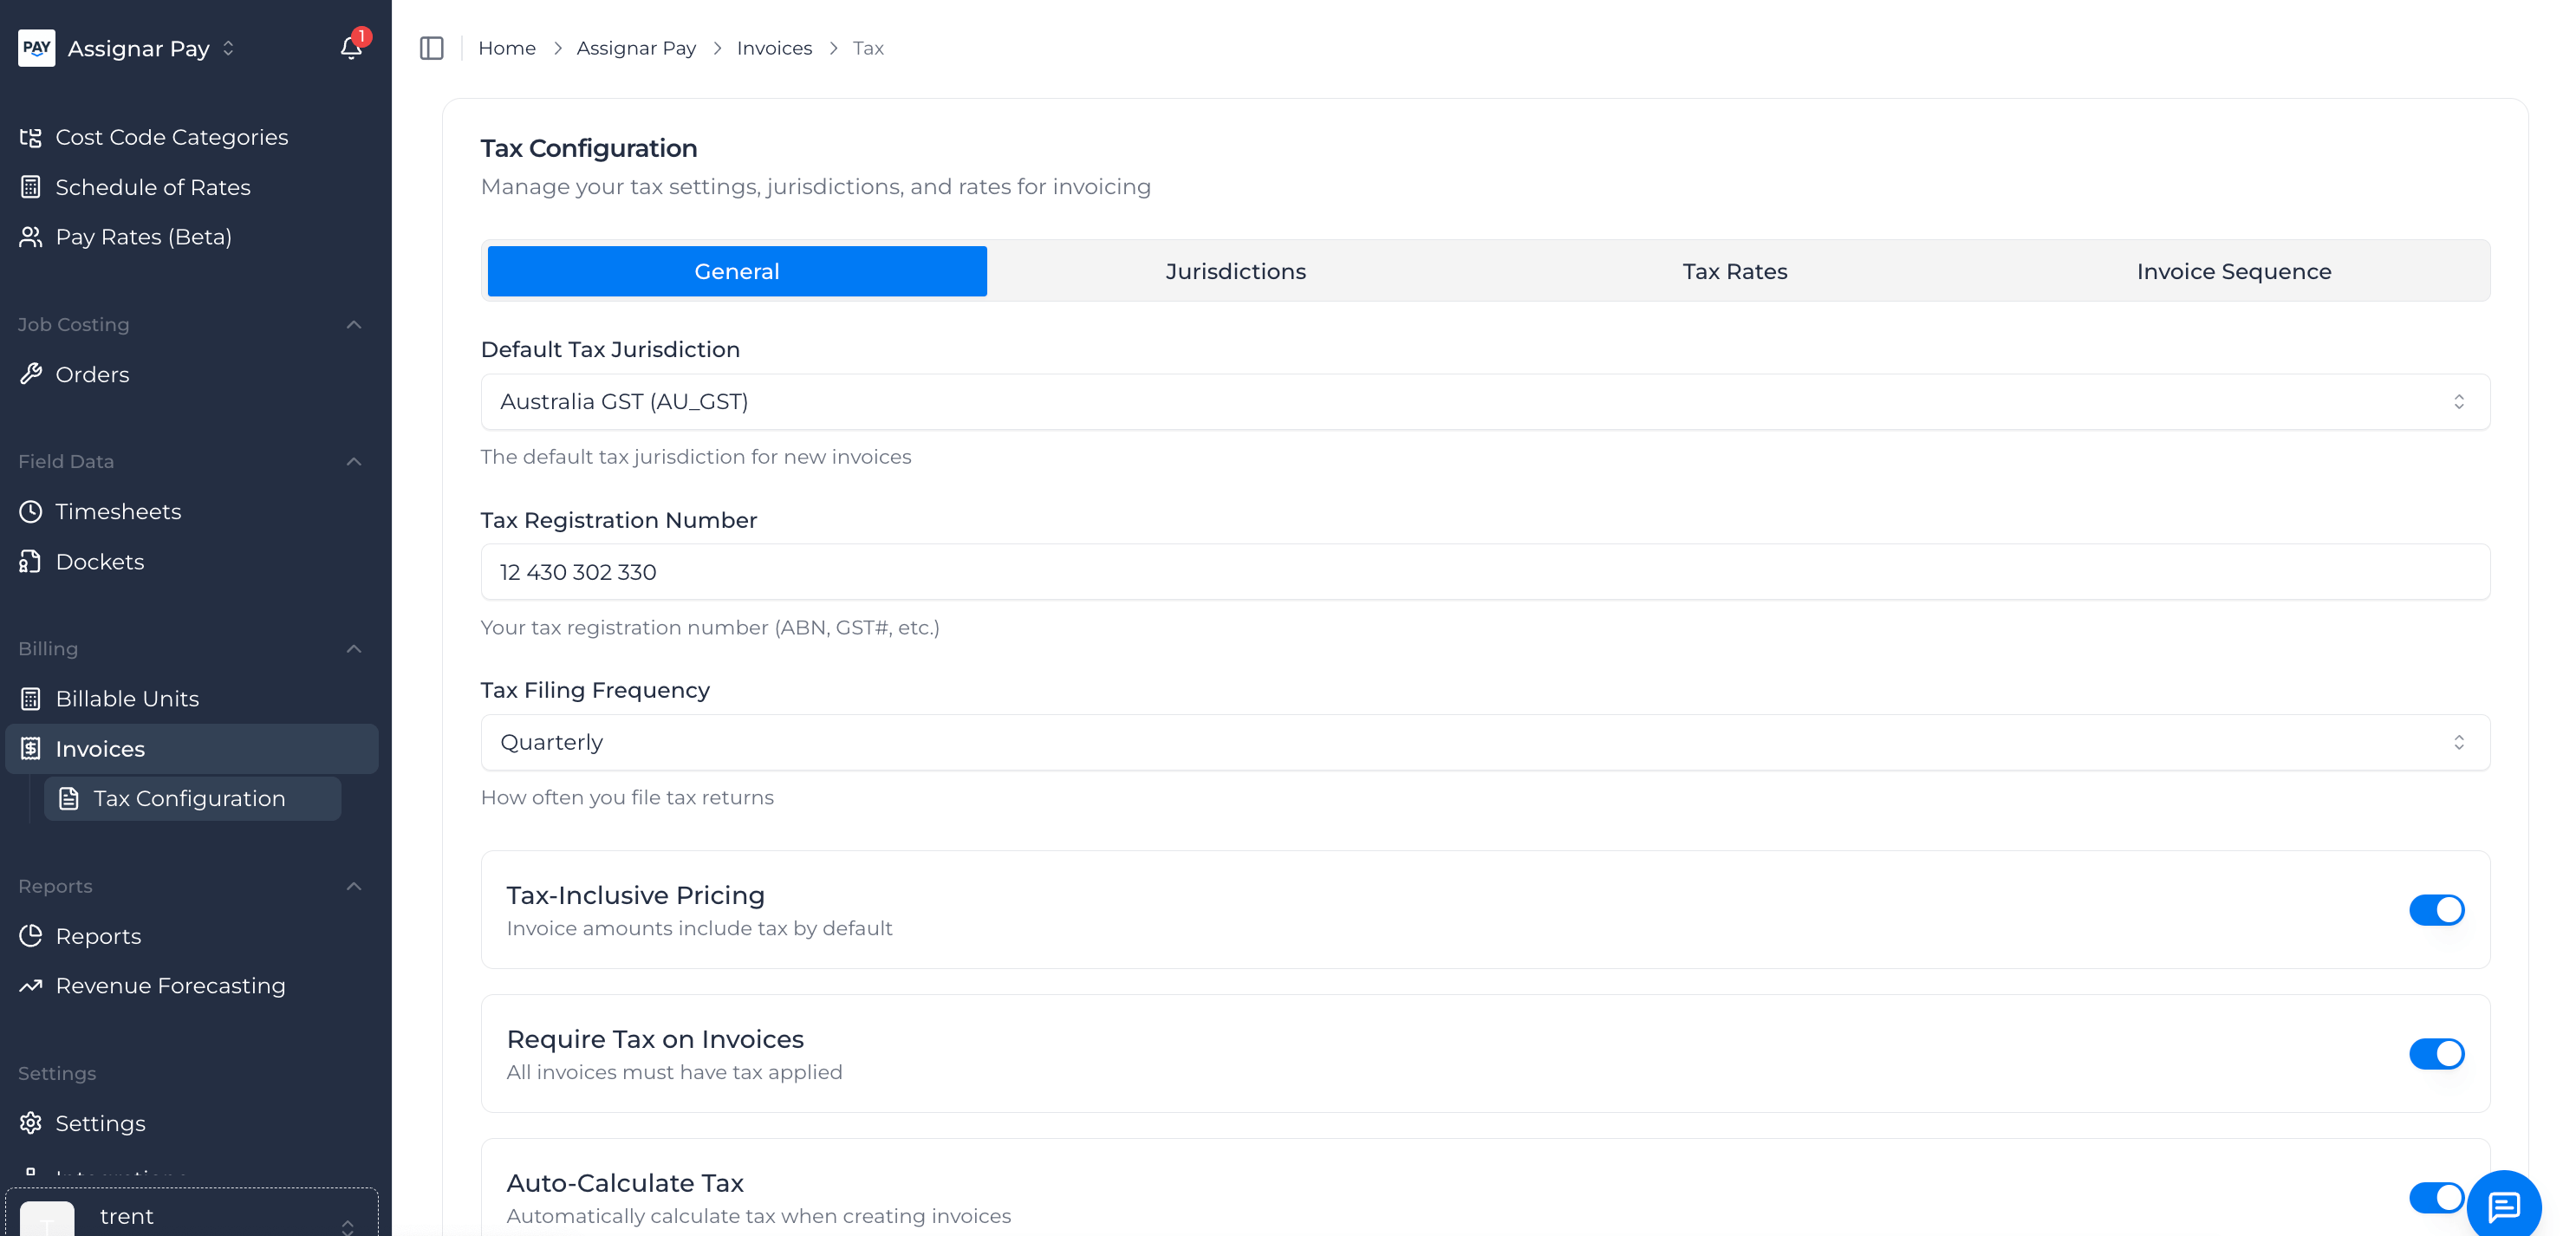
5. Step 4: Configure Tax & Invoicing Settings
- Go to Billing → Tax Settings
- Add your tax setup (e.g. GST):
- Click Add Custom
- Enter the Tax Code, Jurisdiction, and Rate
- Then go to Billing → Invoice Settings
- If you already have an invoice numbering sequence (e.g. the last invoice issued was 1000), set Assignar Pay to continue from that number to stay in line with your existing records
6. Step 5: Verify Integration & Data Sync
When the sync finishes, double-check that:
✅ Clients, projects, cost codes, and workers appear correctly
✅ Tax settings matches your region and requirements
✅ Invoice numbering aligns with your existing system
✅ Any imported timesheets match your operational data
Once verified, your integration is complete. ✅
Troubleshooting
- Don't see API Access in Assignar Operations? → Contact your Account Manager or Assignar Support
- Permissions issue? → Ask your Admin to grant API access permissions
- Data didn't sync? → Recheck your Client ID/Secret and try reconnecting
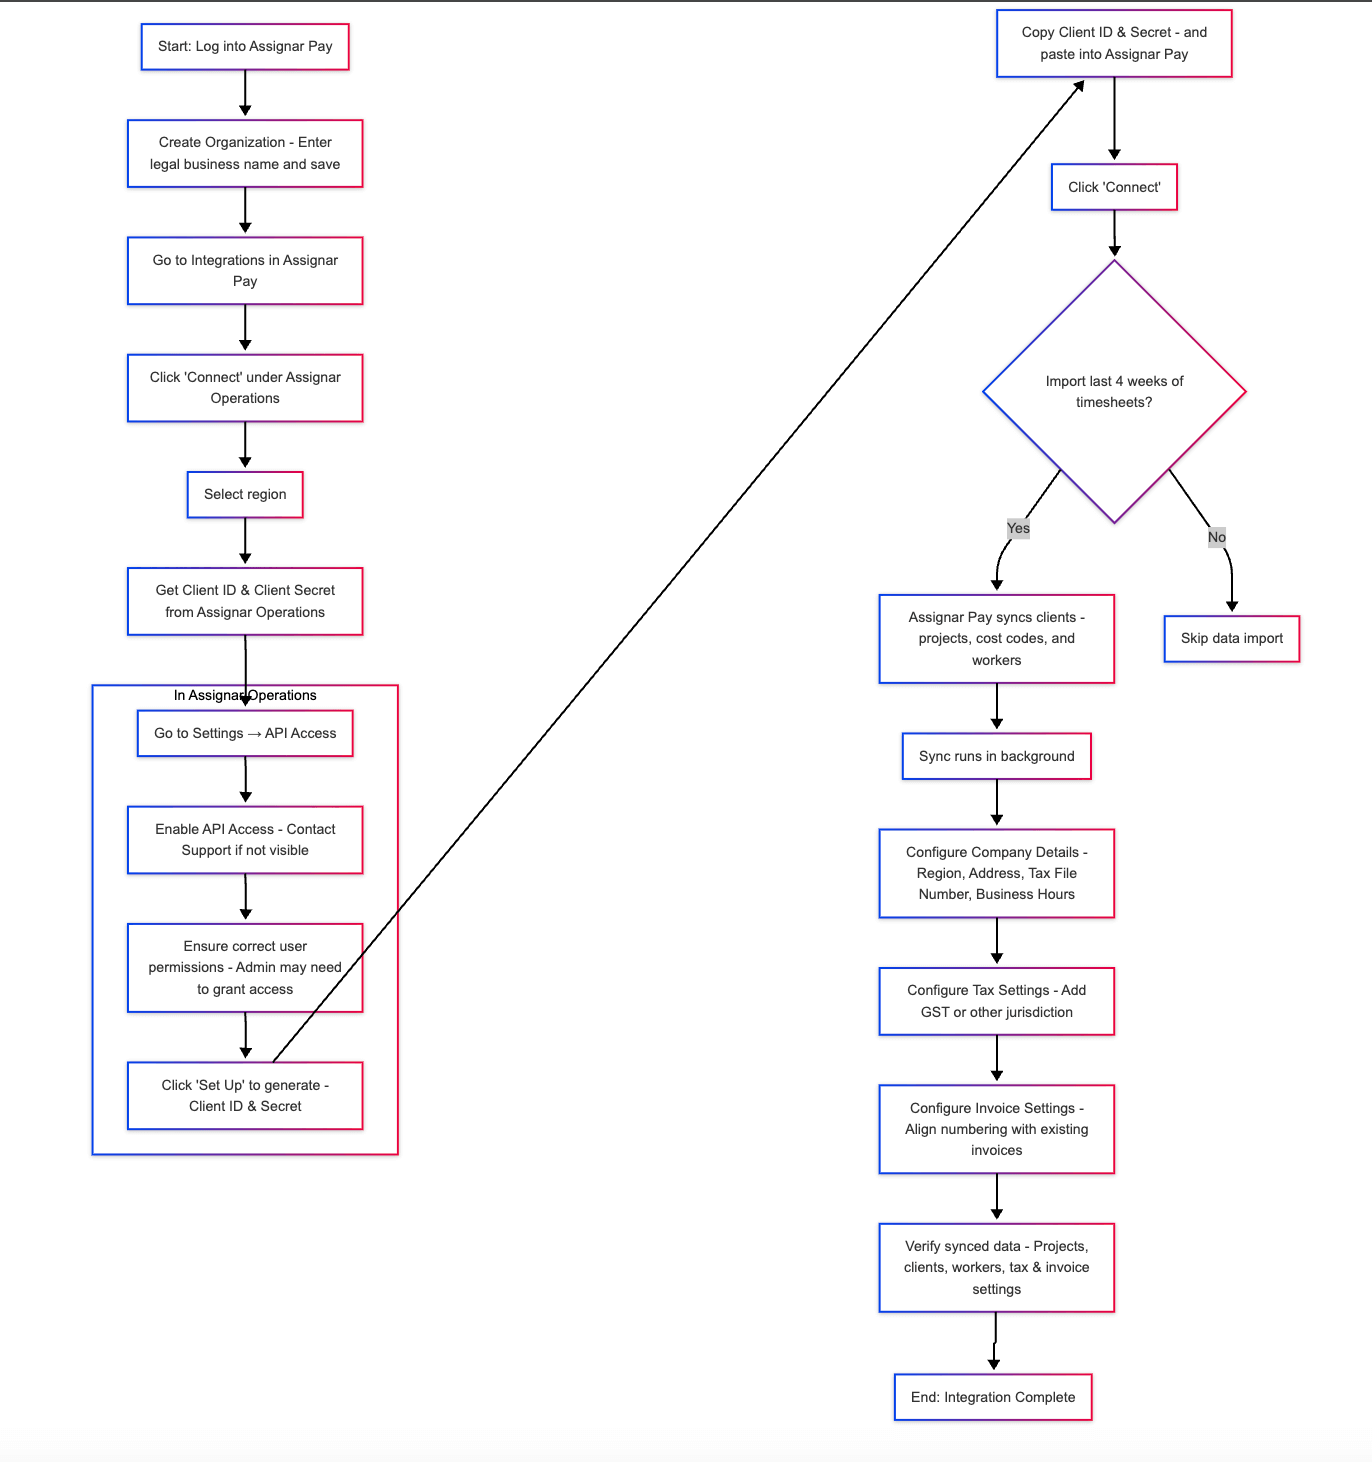
Integration Process Visual Guide
Here's a quick flow of the process:
📊 See below flowchart
✅ Pro Tip: Once you've verified the integration, you're ready to start billing in Assignar Pay with synced project data.
 AData+Flow+Diagram)