How to Create and Manage Invoices
Step-by-step guide to create, send, and track construction invoices for your projects
What This Feature Does
The invoicing system helps you create professional invoices for your construction projects, track payments, and manage billing for clients and subcontractors.
Initial Setup
First-Time Configuration
- Navigate to "Invoices" by clicking "Invoices" in the left sidebar
- You'll see the invoices dashboard with any existing invoices
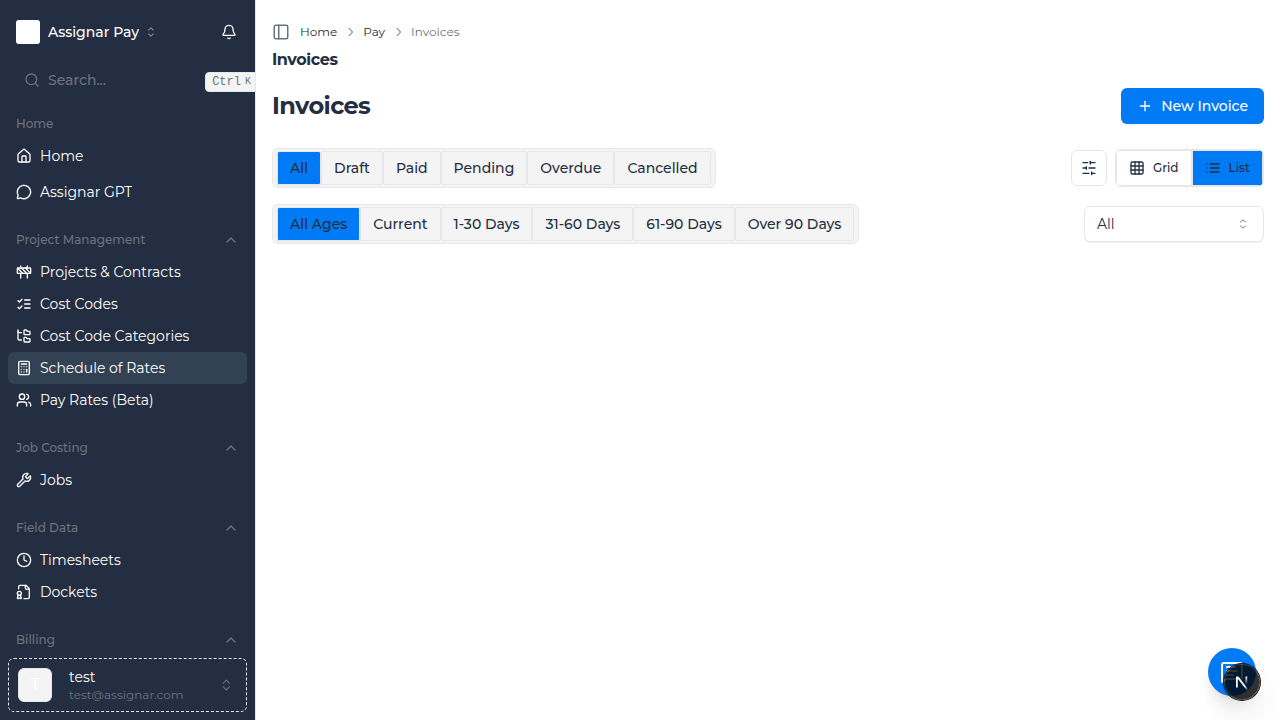
- To create your first invoice, click the "New Invoice" button in the top right corner
Required Information
Before you begin, make sure you have:
- Client information set up in your projects
- Project details configured
- Your company banking details for payment instructions
- Line items or timesheets to bill
Day-to-Day Usage
How to Create a New Invoice
- Go to "Invoices" in the left sidebar
- Click "New Invoice" button in the top right corner
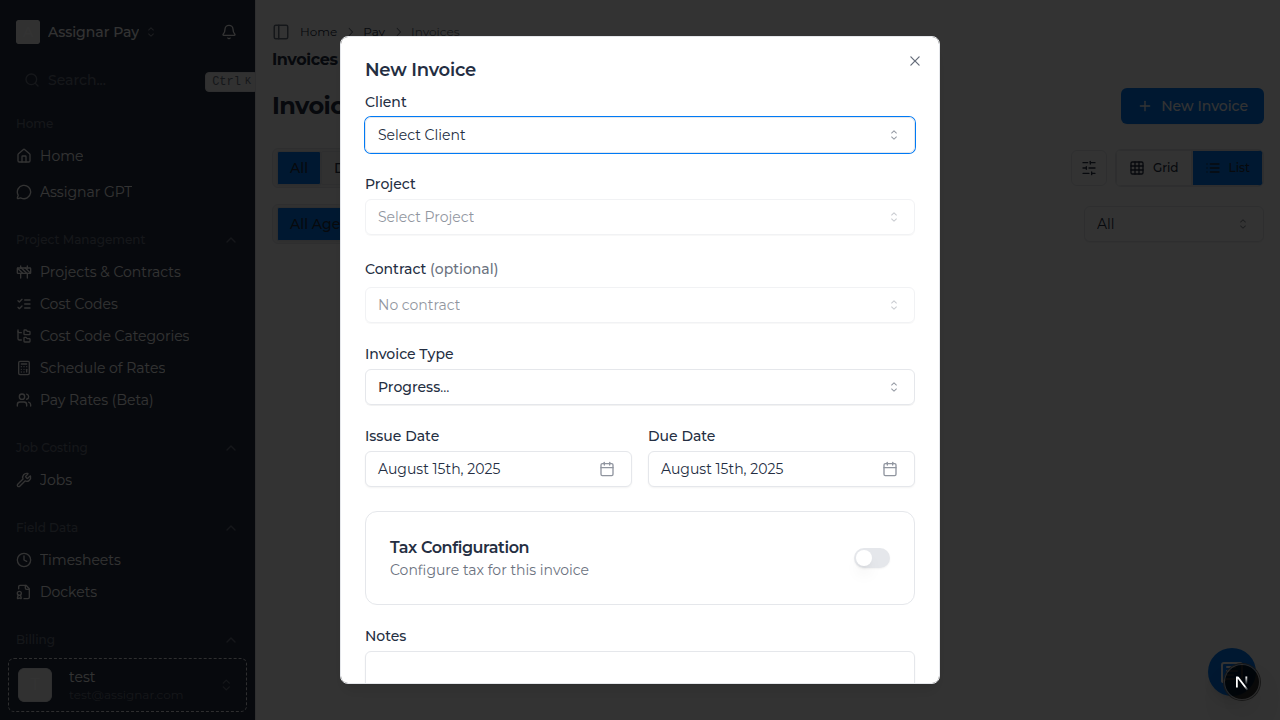
- Fill in the invoice details:
- Invoice Type: Select "Standard", "Progress Claim", or "Final Invoice"
- Client: Choose the client you're billing
- Project: Select the relevant construction project
- Invoice Date: Enter today's date or the billing date
- Due Date: Set when payment is due (typically 30 days)
- Add invoice line items:
- Click "Add Line Item"
- Enter Description: e.g., "Concrete foundation work - Week 1"
- Enter Quantity: Hours worked or units completed
- Enter Rate: Your hourly rate or unit price
- The system will automatically calculate the subtotal
- Review payment details section (your bank details are pre-filled)
- Add any Notes for the client (e.g., "Payment due within 30 days")
- Click "Save Invoice" to create as draft, or "Send Invoice" to send immediately
How to Track Invoice Status
- Go to "Invoices" in the left sidebar
- Use the status filter to view:
- Draft: Invoices being prepared
- Sent: Invoices sent to clients
- Paid: Completed payments
- Overdue: Past due date
- Click on any invoice to view full details
- The status automatically updates when clients make payments
How to Send an Invoice to a Client
- Find your draft invoice in the invoices list
- Click "View Details" on the invoice row
- Review all details are correct
- Click "Send Invoice" button
- The client will receive an email with the invoice attached
- Status will change from "Draft" to "Sent"
Common Tasks
Creating a Progress Claim Invoice
- Navigate to "Invoices" and click "New Invoice"
- Select Invoice Type: "Progress Claim"
- Choose your Client and Project
- In the line items section:
- Add each completed work package
- Enter percentage complete (e.g., "Foundation work - 75% complete")
- Enter the value for this progress period
- Reference any approved variations or change orders
- Click "Save Invoice" to prepare for client review
Adding Timesheet Data to an Invoice
- Create a new invoice or edit a draft
- In the invoice items section, click "Import from Timesheets"
- Select the date range for timesheet data
- Choose which workers' time to include
- The system will automatically:
- Group hours by worker or trade
- Apply the correct pay rates
- Calculate overtime if applicable
- Review and adjust descriptions as needed
- Save the invoice
Setting Up Automatic Invoice Numbering
- Go to "Settings" in the left sidebar
- Click "Invoice Settings" tab
- Under "Invoice Numbering":
- Prefix: Enter your company code (e.g., "ABC-")
- Starting Number: Set your first invoice number
- Format: Choose date format if desired (e.g., "ABC-2024-001")
- Click "Save Settings"
- All new invoices will use this numbering system
Common Tasks for Construction Teams
Creating Invoices for Subcontractors
- Set up the subcontractor as a "Client" in your projects
- Create an invoice selecting this subcontractor client
- Add line items for:
- Materials supplied
- Labor provided
- Equipment rental
- Any approved variations
- Include reference to purchase orders or contracts
- Send invoice with payment terms
Managing Retention Invoices
- Create a new invoice for the client
- In line items, add:
- Description: "Retention release - [Project Name]"
- Amount: The retention amount being released
- Reference: Original invoice numbers
- Include any defects list or completion certificates
- Set appropriate due date (often longer for retention)
Troubleshooting
If you can't see the "New Invoice" button
- Check that you have "Invoices" permission in your role
- Ensure your team subscription includes invoicing features
- Contact your team administrator for access
If invoice emails aren't being received
- Check the client's email address is correct
- Verify your email settings in team settings
- Check client's spam/junk folder
- Try sending a test invoice to yourself first
If calculations seem incorrect
- Verify tax rates are set correctly in settings
- Check that pay rates match your agreements
- Ensure timesheet data is approved before importing
- Review any manual adjustments made to line items
Tips for Construction Teams
- Use consistent descriptions that reference specific work packages or locations
- Include photo documentation or progress reports with progress claims
- Set up templates for recurring invoice types (materials, labor, equipment)
- Send invoices promptly after milestone completion to maintain cash flow
- Track which invoices include retention amounts for end-of-project release
What's Next
After setting up invoicing, you may want to:
- Set up Pay Rates for accurate labor costing
- Connect Timesheets for automated billing