Admin quick start
A short path for an Admin to sign in, finish office setup, and run the organization day to day.
You are an Admin. Follow these steps to sign in and start running the organization.
1. Sign in or accept your invite
Sign in, or open the email titled You have been invited to join a team and accept the invitation. The link lasts 7 days. If it has expired, the page shows Invite not found or expired. Ask an Owner or Admin to resend it.
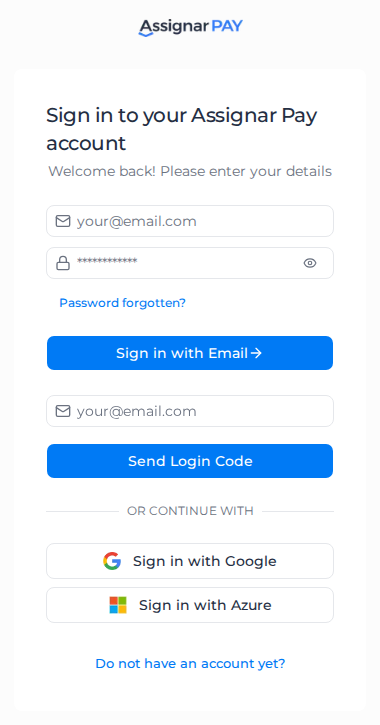
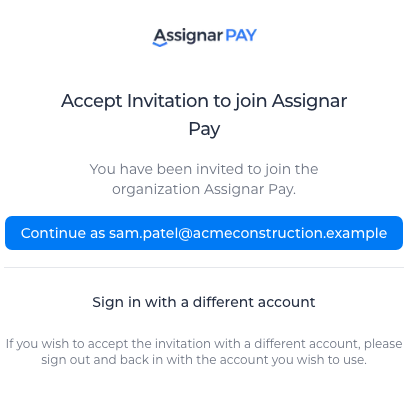
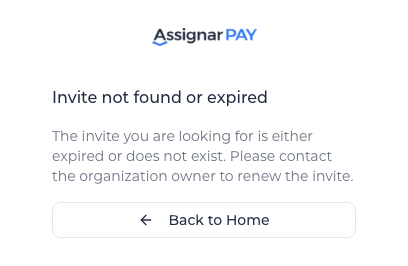
See Sign in to Assignar Pay and Fix sign-in problems.
2. Check your office setup
Check the settings you can change: your region, company details, the Assignar Operations connection, tax and invoice numbering. Work through Set up your organization, starting at Check your region.
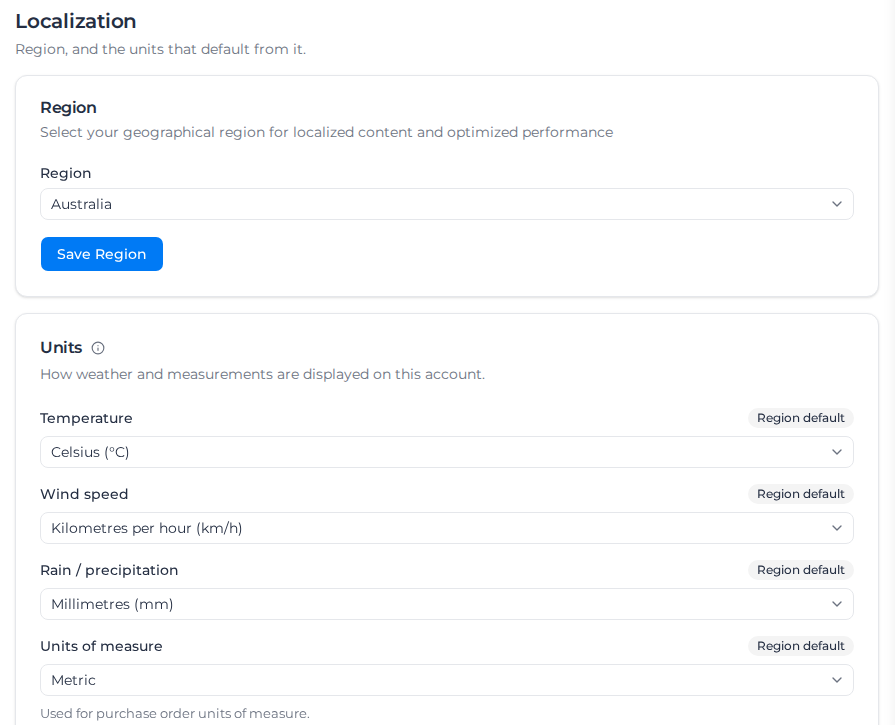
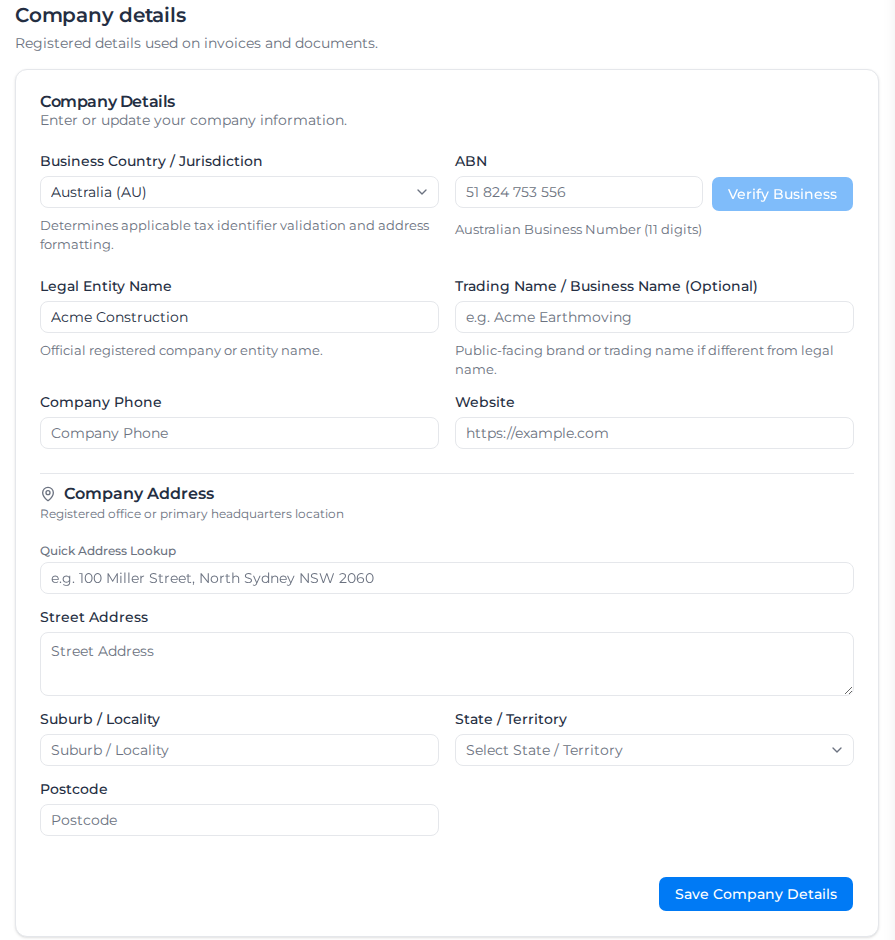
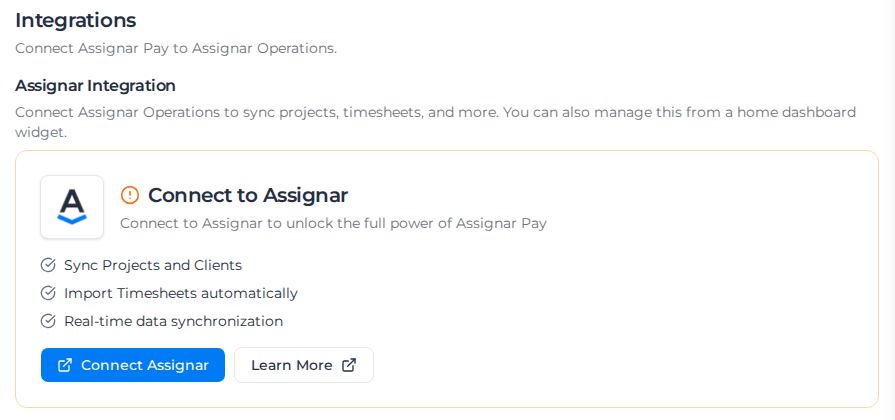
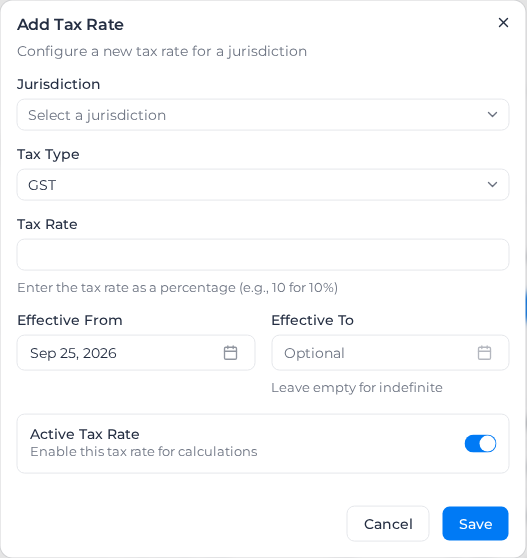
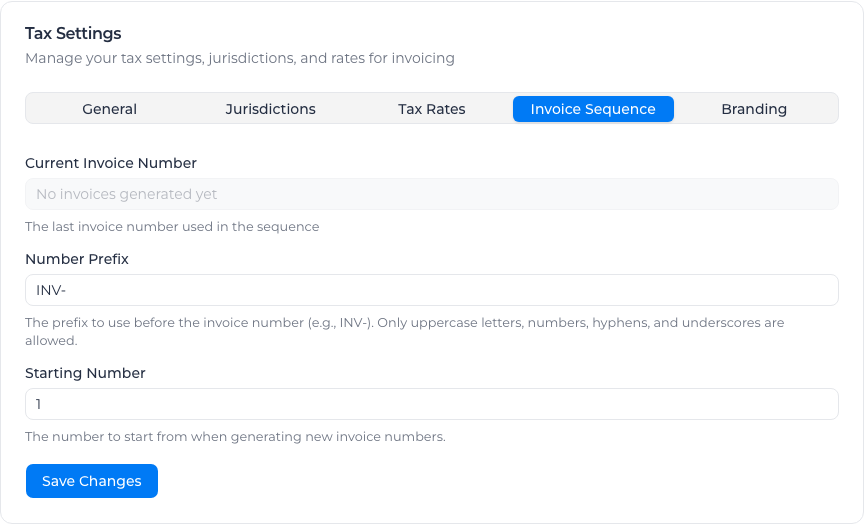
Billing stays with Owners. See Admin role for what you can do.
3. Find your way around
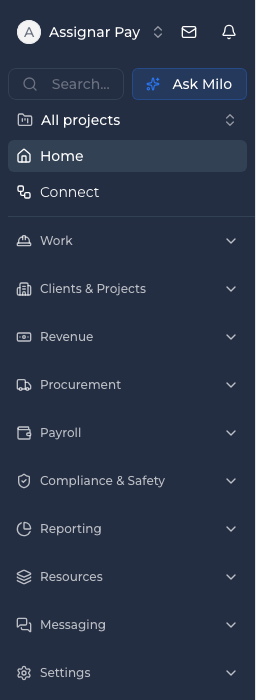
Use the sidebar to move around Assignar Pay. Getting started shows what each group is for.
4. Invite your team
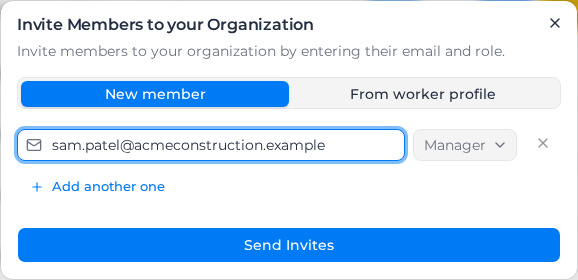
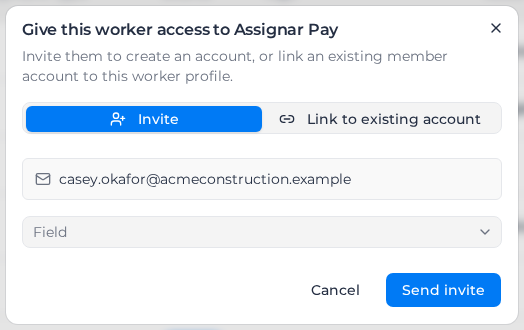
Invite people at Admin level or below, and choose each person's role. See Manage your team and Roles and permissions.