Step-by-step guide to set up and use cost codes for accurate construction project cost tracking
What This Feature Does
Cost codes help you track and categorize expenses for construction projects, enabling accurate job costing, budget monitoring, and profitability analysis across different types of work.
Initial Setup
First-Time Configuration
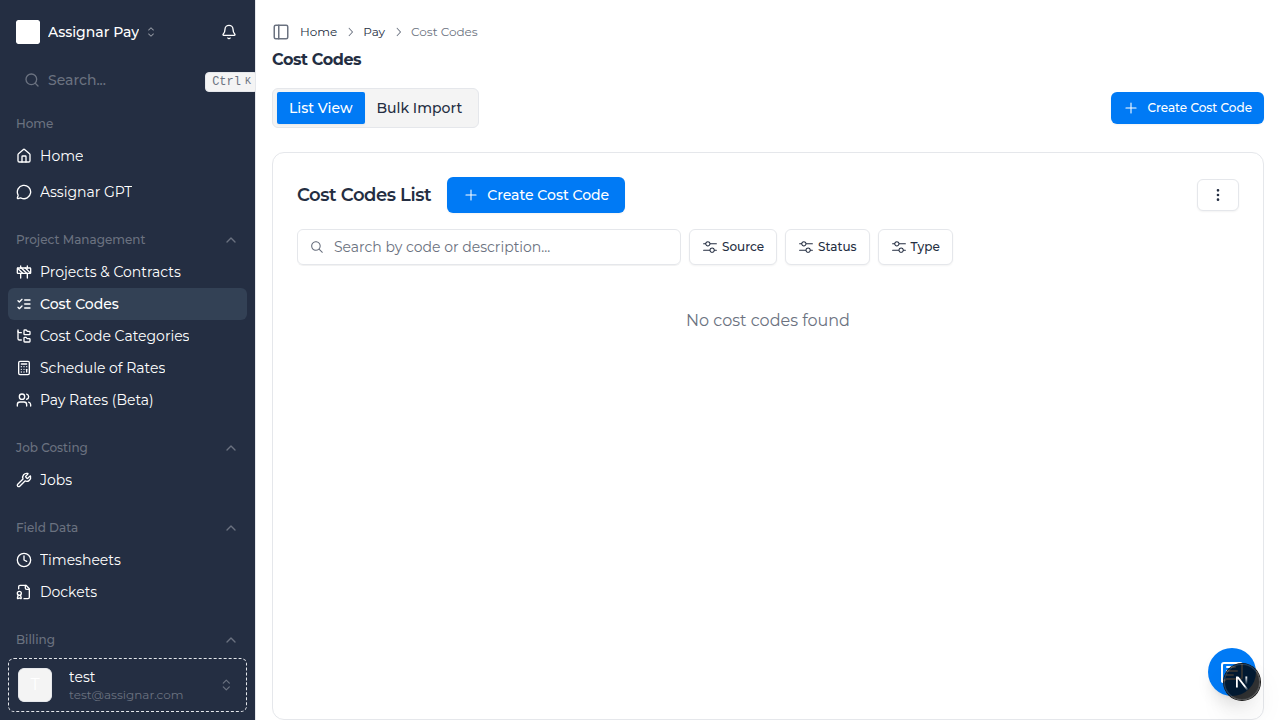
Navigate to "Cost Codes" by clicking "Cost Codes" in the left sidebar
You'll see the cost codes management interface with list and bulk import options
Choose your setup method:
Manual Entry: Create cost codes one by one
Bulk Import: Upload multiple cost codes from spreadsheet
Assignar Import: Import existing activities and tasks from Assignar
Required Information
Before you begin, make sure you have:
List of work types and activities for your projects
Categories to organize your cost codes (e.g., Labor, Materials, Equipment)
Unit types for each cost code (hours, square meters, cubic meters, etc.)
Default pricing for common activities
Day-to-Day Usage
How to Create a Cost Code Manually
Go to "Cost Codes" in the left sidebar
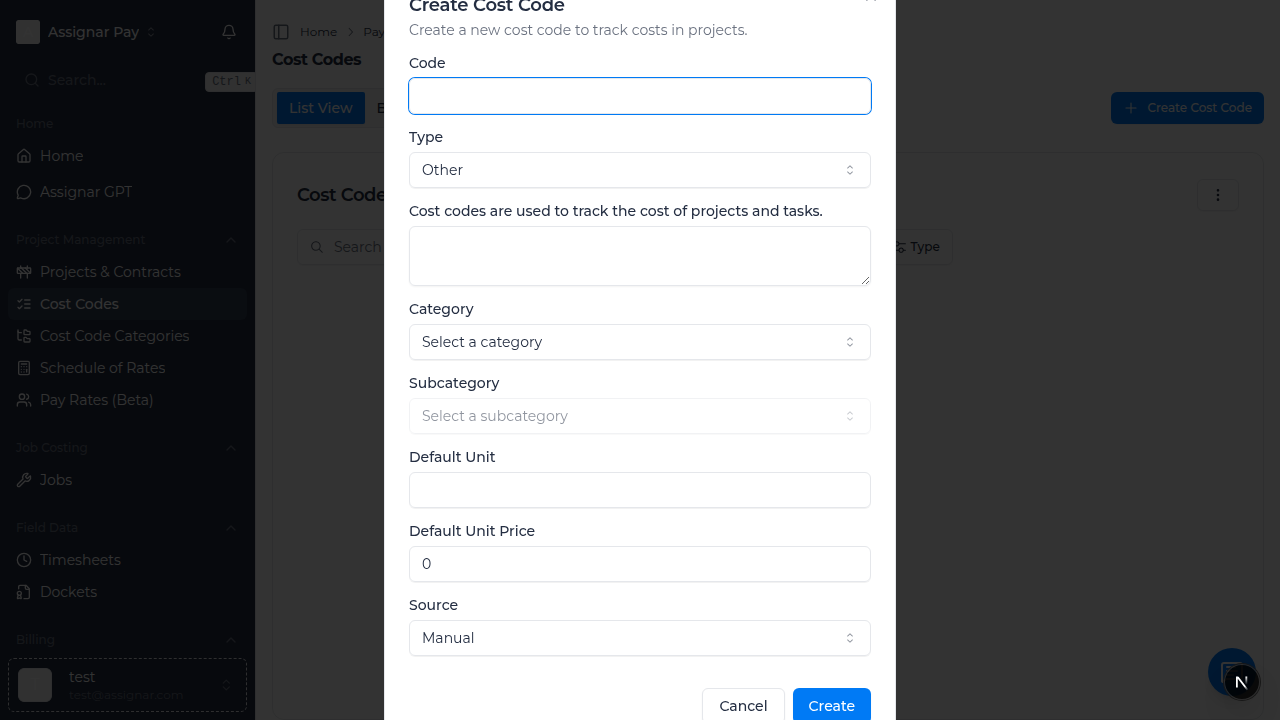
Click "Create Cost Code" button in the top right
Fill in the cost code details:
Code: Enter a unique identifier (e.g., "LAB001" for labor codes)
Name: Descriptive name (e.g., "Carpenter - Formwork")
Category: Select or create category (Labor, Materials, Equipment, etc.)
Subcategory: More specific grouping (e.g., "Skilled Labor", "Concrete Work")
Description: Detailed description of what this code covers
Type: Select "Billable" for client chargeable work or "Non-billable" for internal costs
Set unit pricing:
Default Unit: Choose measurement (Hours, Square Meters, Linear Meters, etc.)
Default Unit Price: Enter standard rate (e.g., $85.00 per hour)
Set status to "Active"
Click "Save Cost Code"
How to Import Cost Codes from Assignar
Go to "Cost Codes" and click "Import Assignar Activities" or "Import Assignar Tasks"
The system will connect to your Assignar integration